Exposure & Large Format · Tool 07
Printable Bellows Factor Scale
About this calculator
A small tool attached directly to the camera can be more convenient than having to take out your phone every time. Here, you can create a bellows scale for a specific focal length. The corrections are marked in third-stop increments, along with the corresponding total extension values.
The scale starts at 0 mm and extends to your maximum total extension. Long sections are spread across A4 pages with a 10-millimeter overlap. You can print them or save each page as an SVG file. Please note that the on-screen preview itself is not dimensionally accurate.
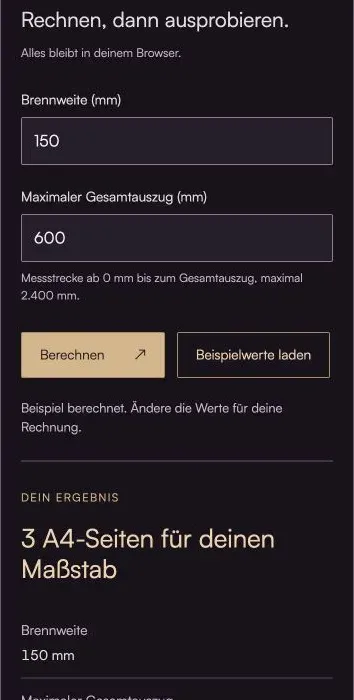
Do the math, then give it a try.
Everything stays in your browser.The calculator is loading …
Your result
100% / Select "Actual Size." Turn off headers and footers. Then check the 100-mm distance with a ruler.
How to Use the Calculator
- Enter the focal length and the maximum desired total extension in millimeters.
- Print on A4 paper at 100% or actual size. Uncheck "Fit to Page," "Headers," and "Footers" in the print dialog box.
- Check the 100-mm reference line with a ruler. Only then should you overlap the sides at matching millimeter marks and join them together.
- Cut out the 60-mm-wide strip along the edge. Align the zero mark with the film plane and read the EV value on the front of the lens board. The QR code at the end links to enricmammen.de.
What's Behind the Bill
Total extension with correction s = focal length × 2^(s / 2); correction in EV = 2 × log₂(total extension / focal length)
Align the zero mark with the film plane on the rear standard and read the correction on the lens plate of the front standard. The scale measures the total distance, not just the additional extension. For a 150-mm lens, +0 EV corresponds to the 150-mm mark and +2 EV to the 300-mm mark.
The distances between the aperture marks are not equal. This is intentional: The exposure time increases with the square of the extension. An evenly spaced aperture scale would therefore be incorrect.
Each printed page contains its own control strip. Different printer drivers may scale the image even if the preview looks correct. Therefore, rely on the measured 100 mm, not on the displayed percentage alone. If you download multiple SVG files, your browser may prompt you to allow additional files.
An example to work through
For a 150 mm focal length, +2 EV corresponds to a total extension of 300 mm—that is, at the 300 mm mark. Up to a total extension of 600 mm, the measuring distance is exactly 600 mm long and is spread across three A4 pages. Only the small section at the end with the QR code lies beyond the last measuring mark.
Here's what you should keep in mind
- The underlying bellows model is an approximation that applies to symmetrical lenses.
- The mounting must reflect the actual extension travel. Mounting the device at an angle or in a folded position will distort the reading.
- The calculator limits the total extension to 2,400 mm.
Frequently Asked Questions (FAQ)
Why is the length of my printed bellows ruler incorrect?
In most cases, the printout is automatically adjusted to fit the printable area. Select A4, 100%, or “Actual Size,” and disable page scaling as well as headers and footers. Then measure the test section: it must be 100 mm long. Don’t rely solely on the settings in the print dialog box.
Where do I place the ruler, and where do I read the measurement?
Zero corresponds to the rear film plane: the plane where the light-sensitive layer of the loaded film is located and to which the camera’s focusing screen is calibrated. Move the strip forward parallel to the optical axis and read the EV value at the level of the lens mount. Do not simply use the outer edges of the two standards. With typical, approximately symmetrical large-format lenses, the optical reference point is close to the lens mount; however, with recessed mounts, telephoto designs, or heavily tilted standards, this simple reading is not reliable. You do not need to look for an infinity mark for this scale.
How do I glue several A4 pages together properly?
Each subsequent page repeats 10 millimeters of the previous scale. Align the millimeter marks exactly on top of each other and join the pages without changing the scale spacing. Check the reference lines before gluing the pages together. The on-screen graphic is only a preview and is not suitable for measuring.
Read More & Sources
If you'd like to learn more about the basics, you'll find helpful explanations here.